Guide to Adding a Disk to a Cloud Server
This guide will show you how to add a new disk to your operating system. It includes the steps to create a disk in the management panel and then configure it in the operating system.
Creating a New Disk
Before adding the disk to the operating system, you must create it in your server management panel.
Steps to Create a Disk in the Management Panel
- Log into the control panel:
- Sign in to your account and go to the Cloud Server section in the control panel.
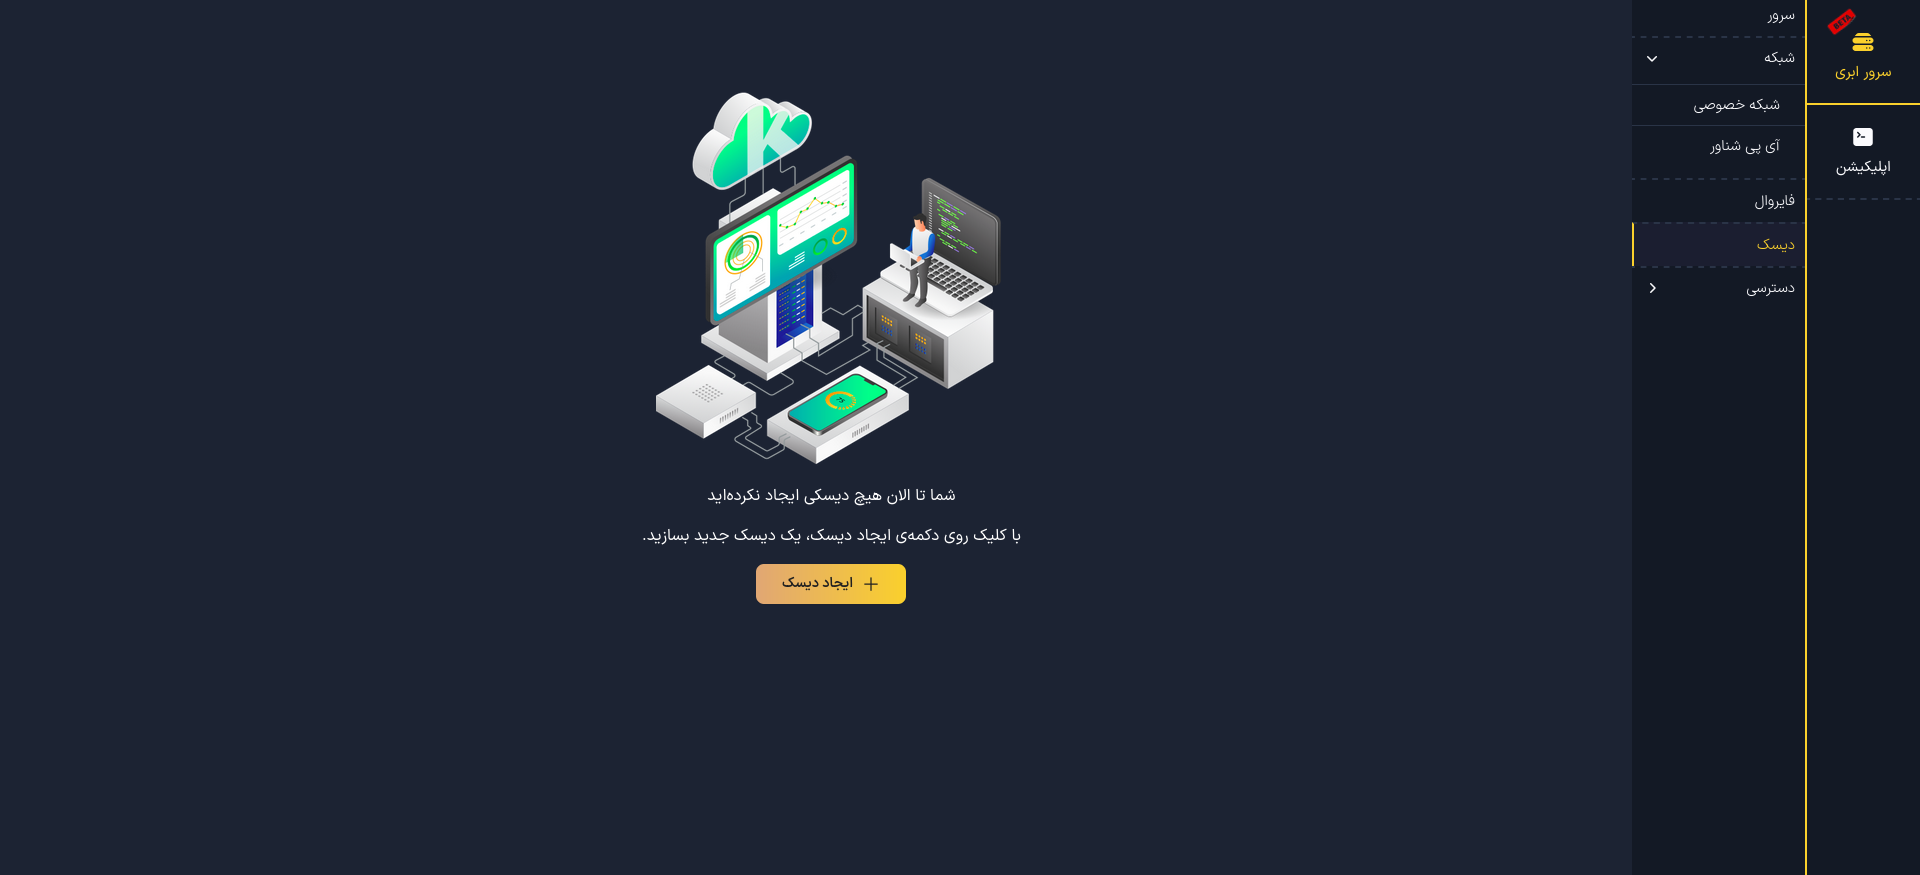
- Navigate to the Disk section.
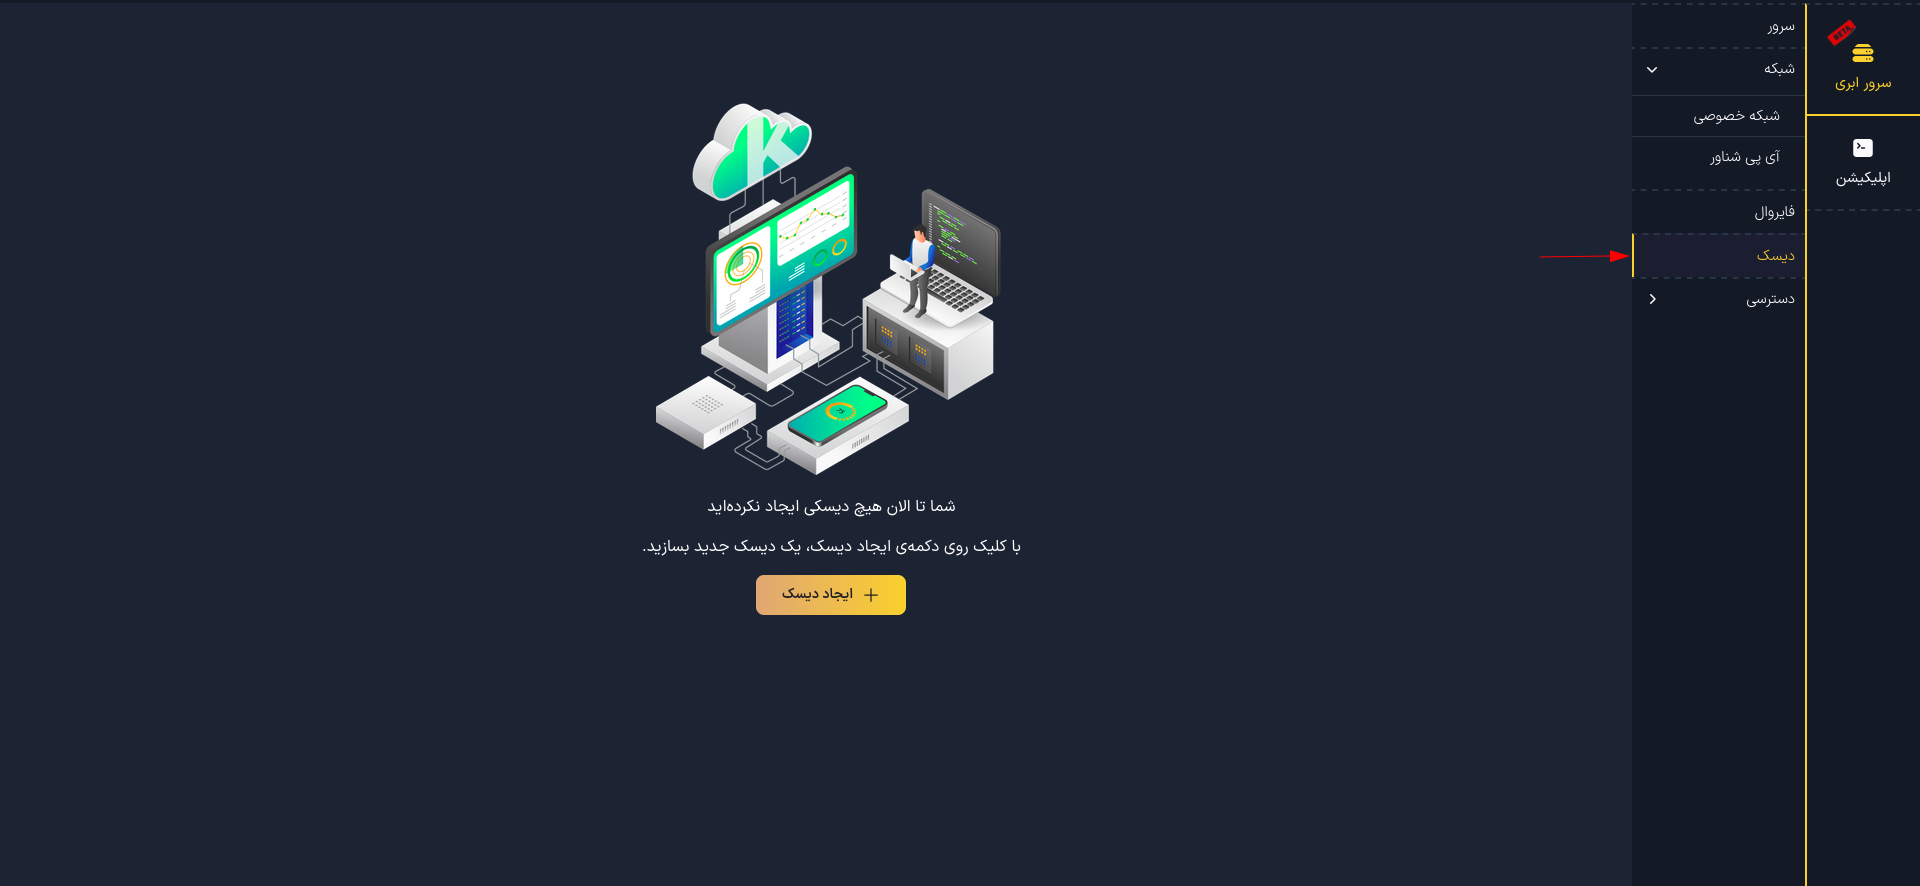
- Click on Create Disk.
- Enter the following information:
- Disk Name: Enter a specific name for your disk.
- Disk Type: Select the type of disk from the dropdown menu ("Standard (SSD)" is selected here).
- Disk Size: Use the slider to set the disk size (1 GB is selected here).
- Attach to Server: Select the server to which you want to attach the disk from the dropdown menu.
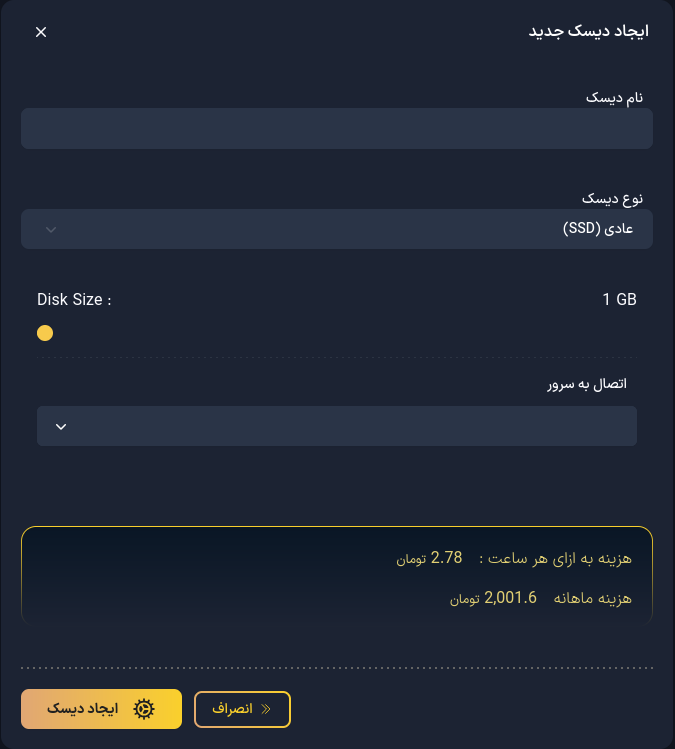
- Click the Create Disk button.
- Your disk will be created and attached to the selected server within a few seconds.
Configuring the Disk in the Operating System
Once the disk is attached to the server, it must be configured in the operating system. This includes identifying the disk, partitioning it, formatting it, and mounting it.
Identifying the Disk
First, check the list of available disks:
- Ubuntu/Debian/RockyLinux/AlmaLinux
- FreeBSD
lsblk
gpart show
To ensure the disk is empty, use the following command:
- Ubuntu/Debian/RockyLinux/AlmaLinux
- FreeBSD
sudo fdisk -l /dev/vdX
diskinfo -v /dev/vtbdX
Partitioning the Disk
To partition the disk, use the appropriate tool for your operating system:
- Ubuntu/Debian/RockyLinux/AlmaLinux
- FreeBSD
sudo fdisk /dev/vdX
gpart create -s GPT /dev/vtbdX
gpart add -t freebsd-ufs /dev/vtbdX
In Linux fdisk mode, enter the following commands:
nto create a new partition.pto select the primary partition.- Enter the partition number (usually 1).
- Press Enter to accept default start and end sectors.
wto write changes and exit.
Formatting the Partition
To format the partition with the appropriate filesystem:
- Ubuntu/Debian
- RockyLinux/AlmaLinux
- FreeBSD
sudo mkfs.ext4 /dev/vdX1
sudo mkfs.xfs /dev/vdX1
newfs -U /dev/vtbdXp1
Creating a Mount Directory
Create a directory for mounting the disk:
- Ubuntu/Debian/RockyLinux/AlmaLinux
- FreeBSD
sudo mkdir -p /mnt/data
mkdir -p /mnt/data
Temporarily Mounting the Disk
Mount the disk temporarily:
- Ubuntu/Debian
- RockyLinux/AlmaLinux
- FreeBSD
sudo mount /dev/vdX1 /mnt/data
sudo mount /dev/vdX1 /mnt/data
mount /dev/vtbdXp1 /mnt/data
Permanently Mounting the Disk
To mount the disk permanently at system startup, edit the fstab file:
- Ubuntu/Debian/RockyLinux/AlmaLinux
- FreeBSD
sudo nano /etc/fstab
ee /etc/fstab
Add the following line at the end of the file:
- Ubuntu/Debian (ext4)
- RockyLinux/AlmaLinux (xfs)
- FreeBSD
/dev/vdX1 /mnt/data ext4 defaults 0 2
/dev/vdX1 /mnt/data xfs defaults 0 0
/dev/vtbdXp1 /mnt/data ufs rw 2 2
Save the file and exit the editor.
Applying Changes Without Rebooting
To apply changes without rebooting:
- Ubuntu/Debian/RockyLinux/AlmaLinux
- FreeBSD
sudo mount -a
mount -a
Verifying the Disk Mount
Check if the disk is mounted correctly:
df -h /mnt/data
Setting Permissions (Optional)
Ensure the correct permissions are set for the mounted directory:
sudo chmod 755 /mnt/data
sudo chown username:groupname /mnt/data