Setup and Initial Configurations
Setup Steps
1. Create an Application
- On your dashboard, click on the Create App option.
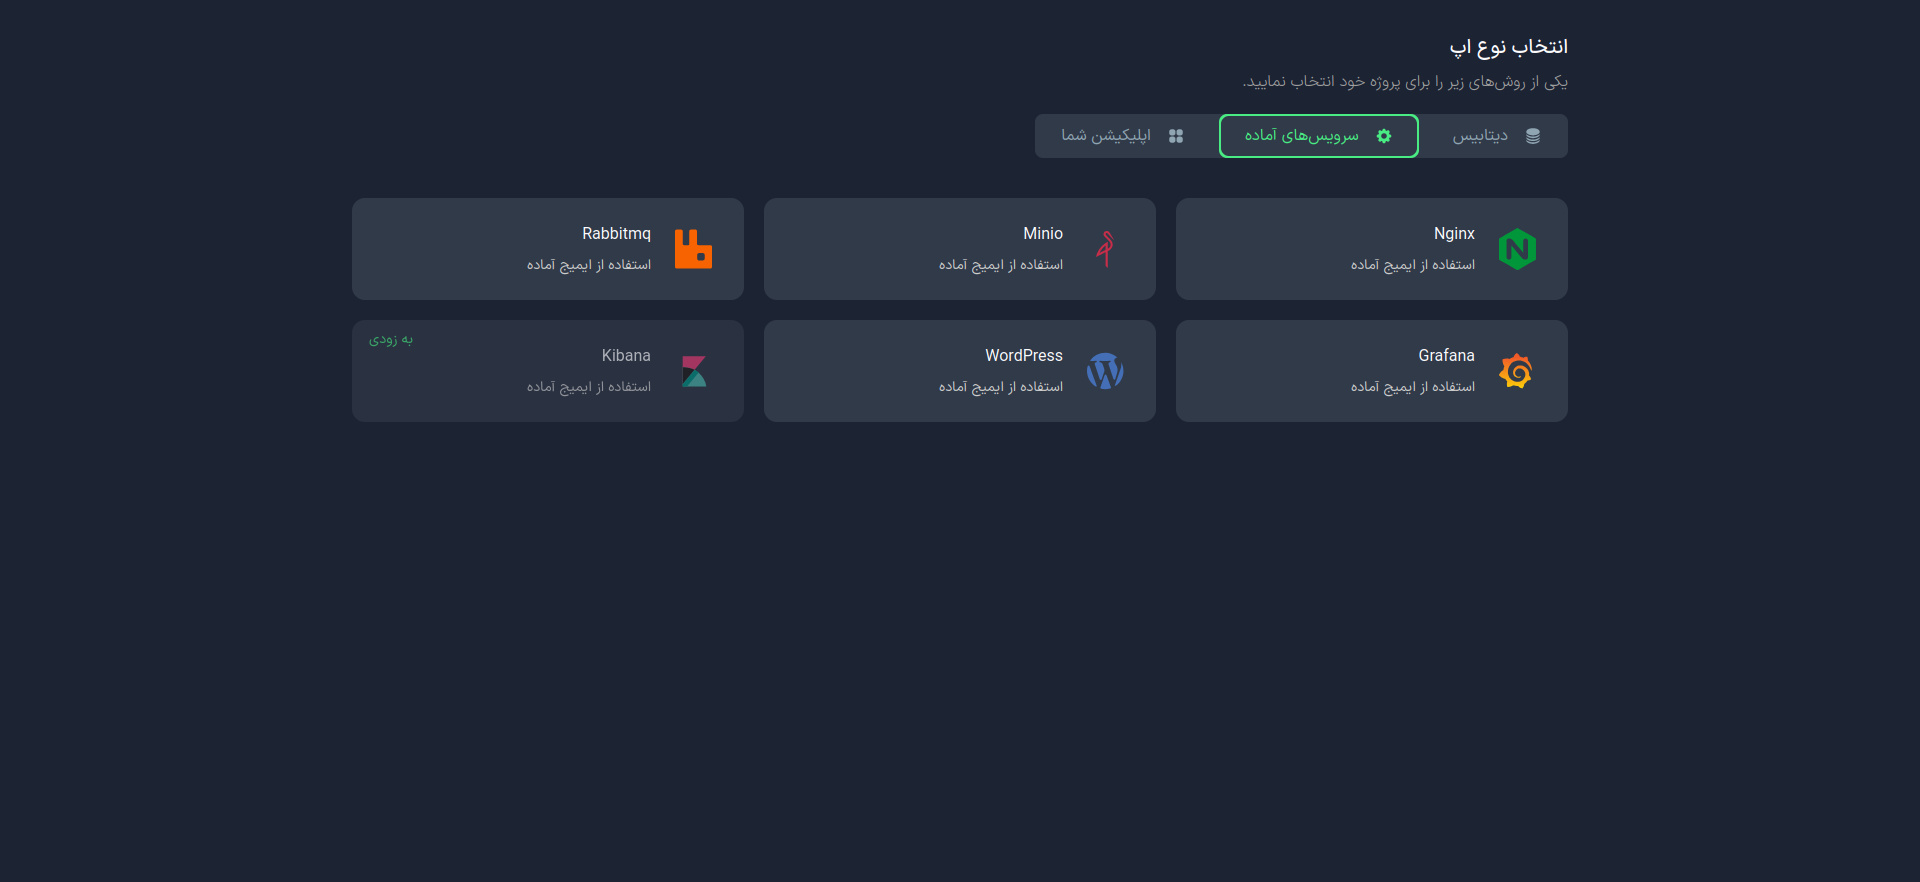
- In the Select App page, go to the One-Click Apps tab.
- Select the WordPress option.
2. Initial Settings
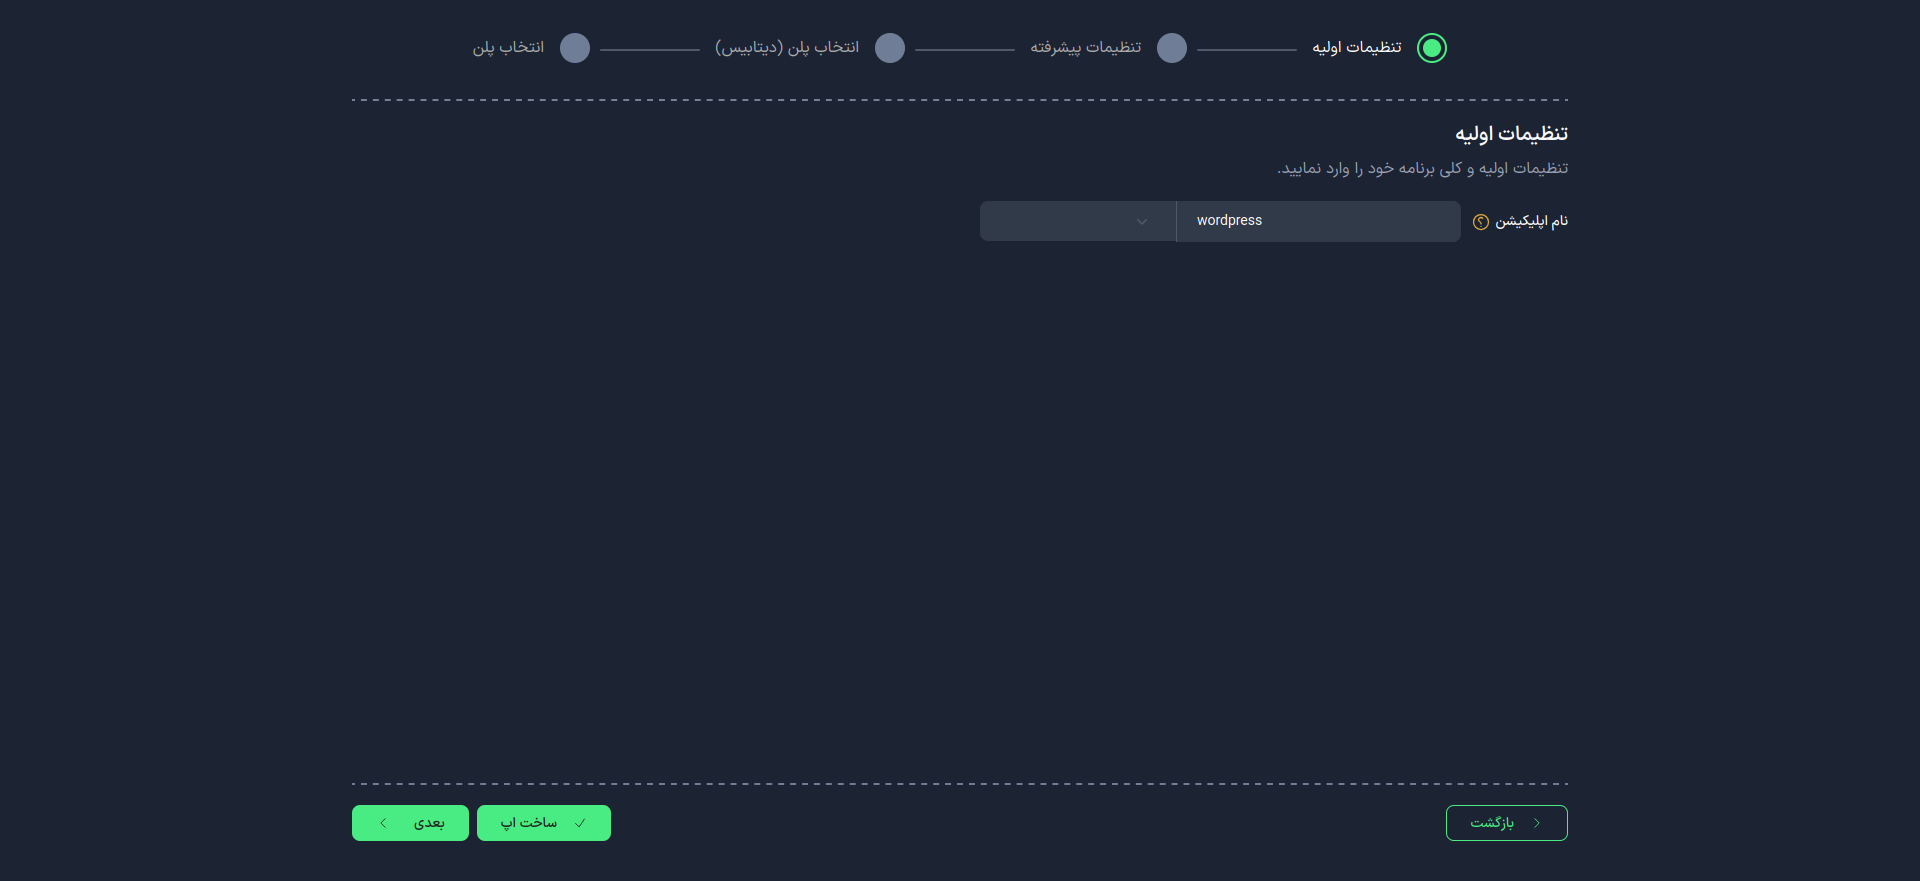
On the initial settings page:
- Enter the App Name. This name will be used in your Application domain and cannot be changed after the application is created.
danger
- Use lowercase letters and only use - as a separator between words.
- To automatically generate a username, password, and service name, click on Create App.
- For more settings, select the Next option.
3. Advanced Settings (Optional)
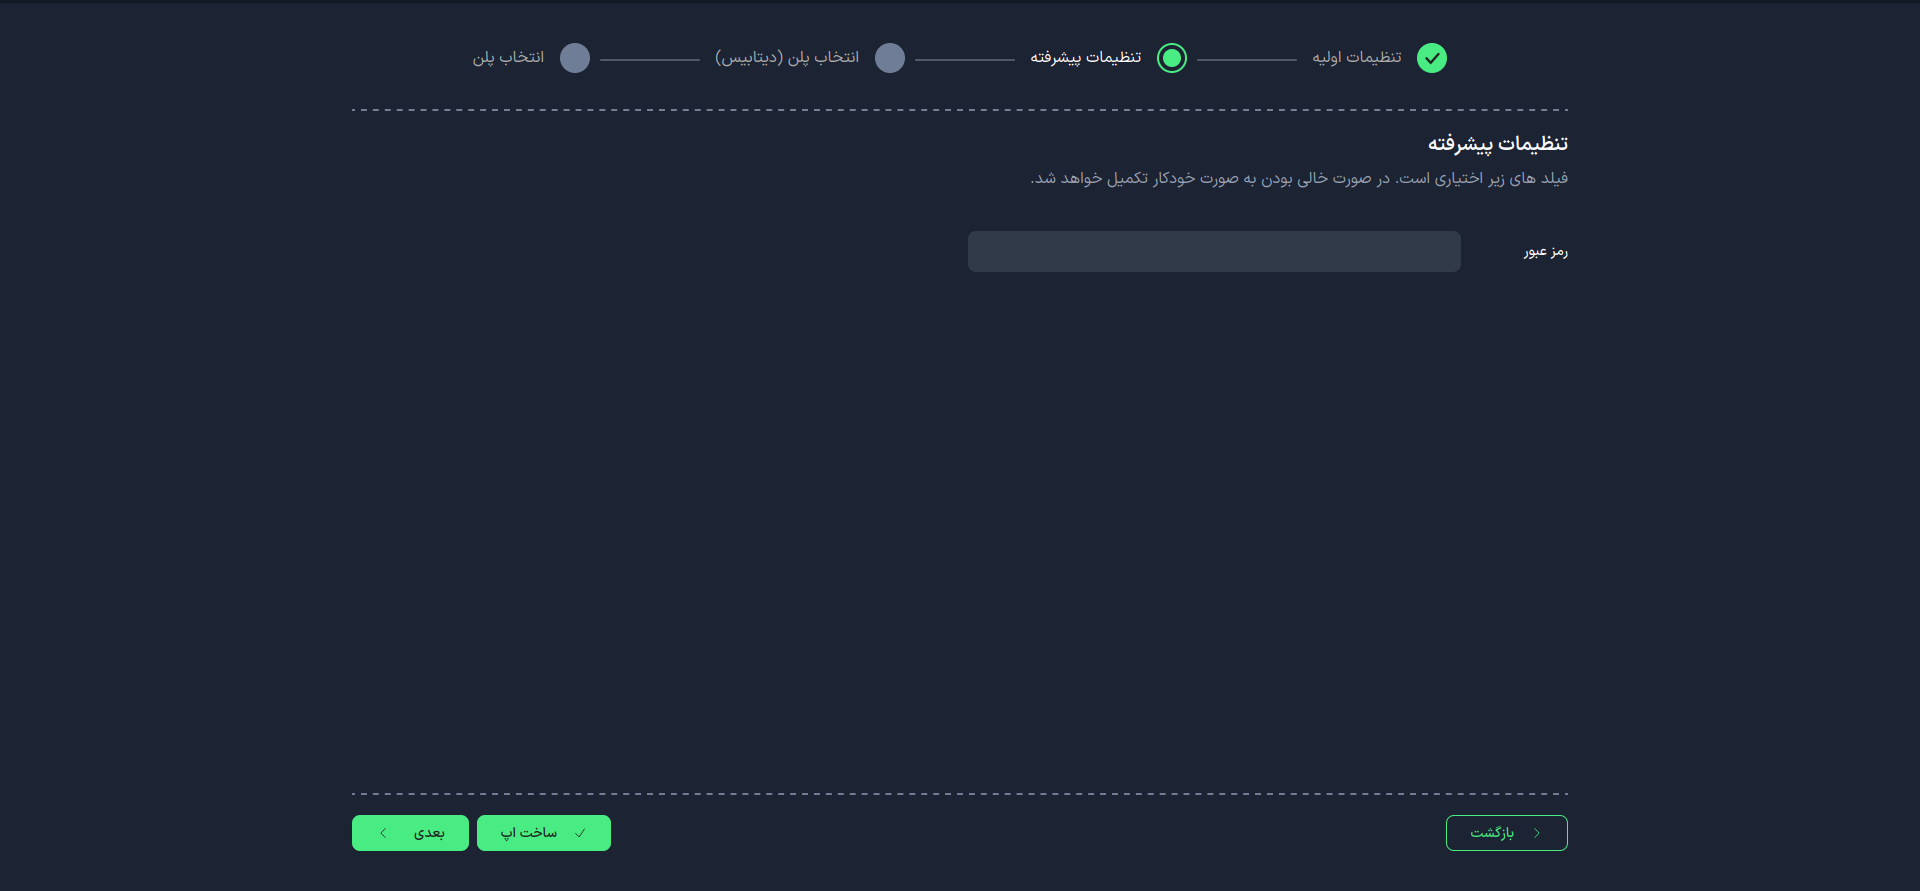
At this stage, you can customize your WordPress password.
4. Select a Plan
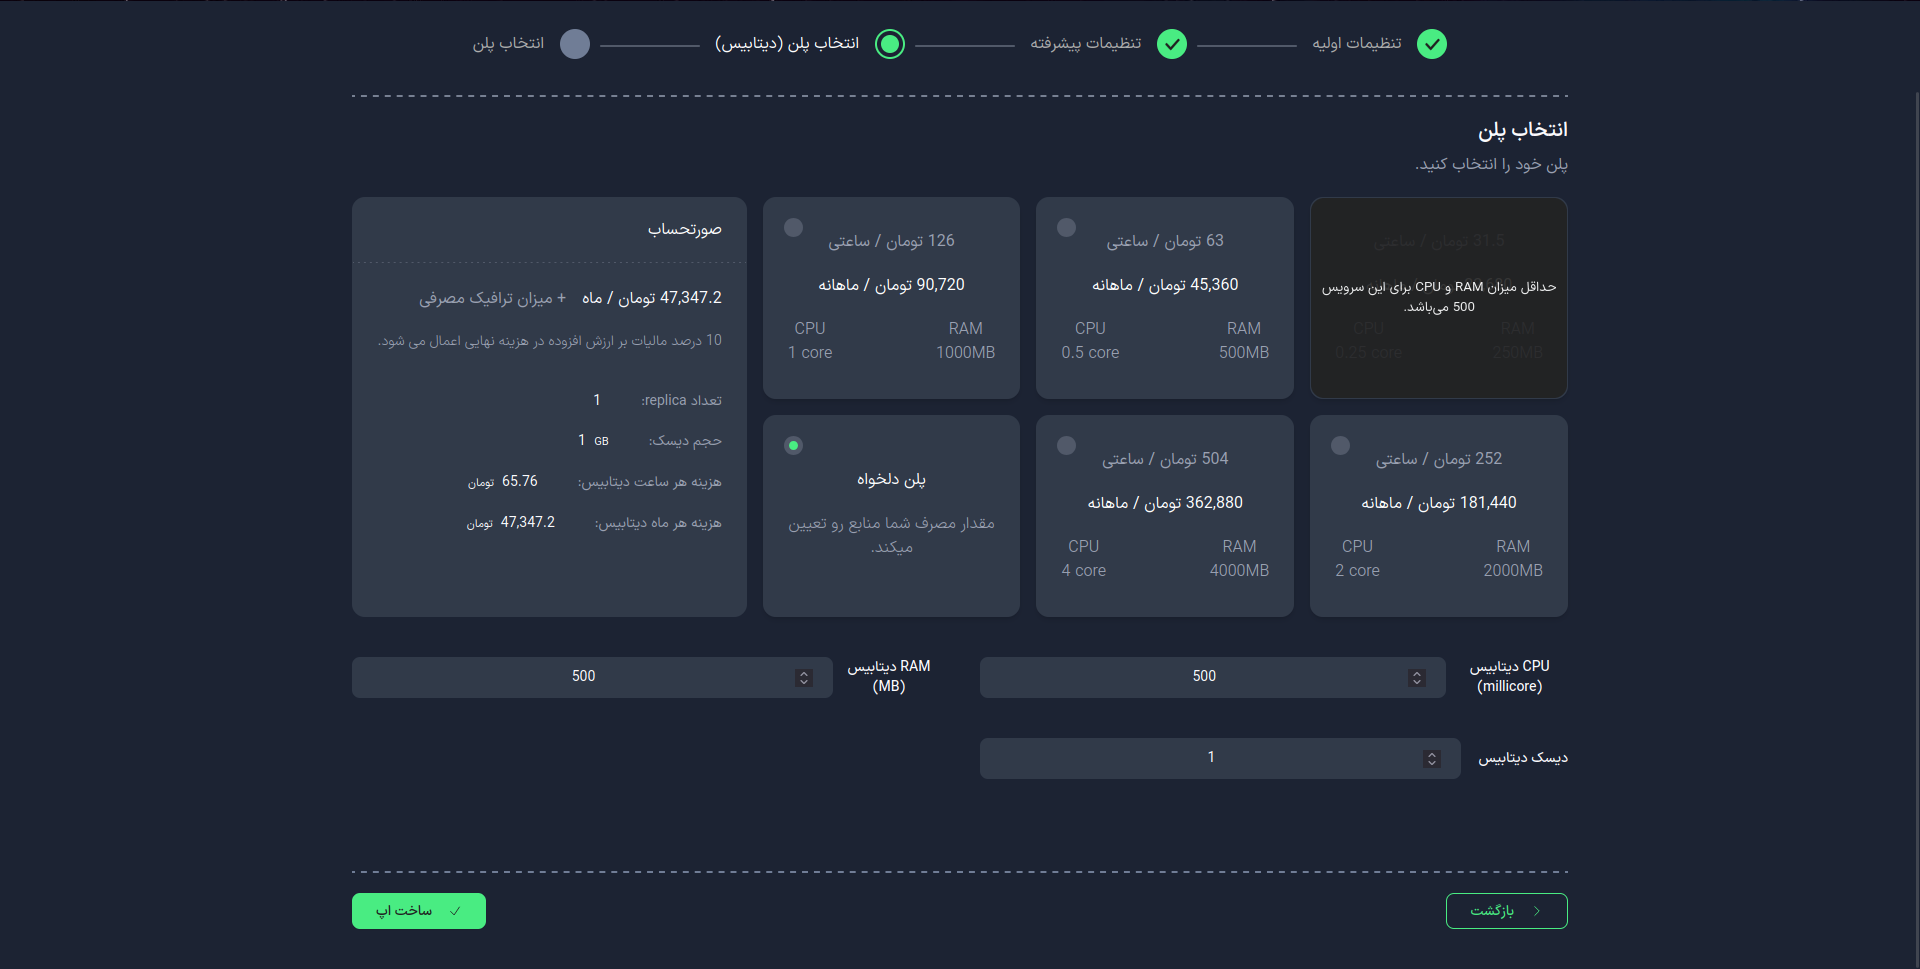
To determine the required hardware resources, choose one of the following two methods:
- Use the suggested plans
- Manually configure the desired plan
caution
- The app name cannot be changed after creation.
- Always use a strong password.
- Use advanced options if you need more control over the settings.
- Your selected plan will determine the performance and cost of the WordPress service.